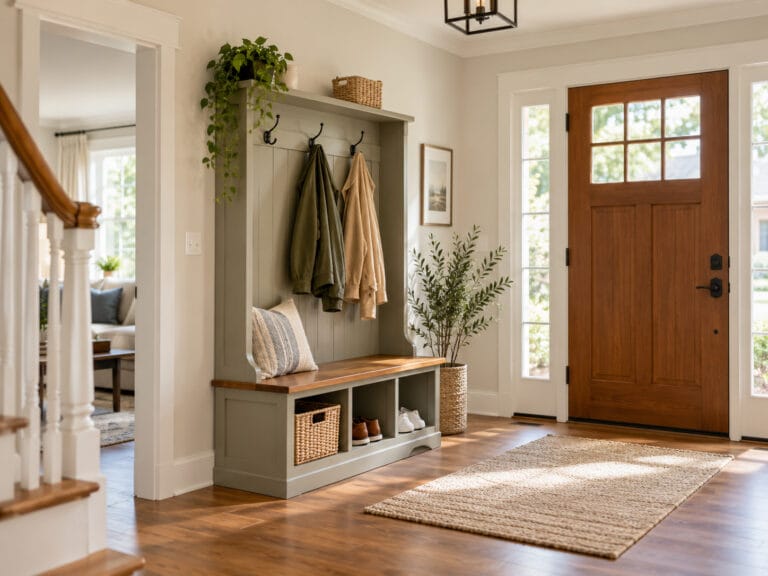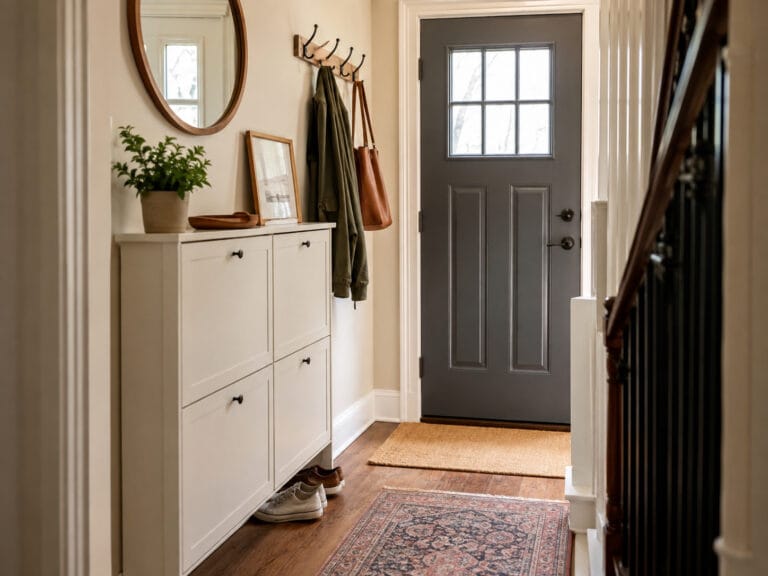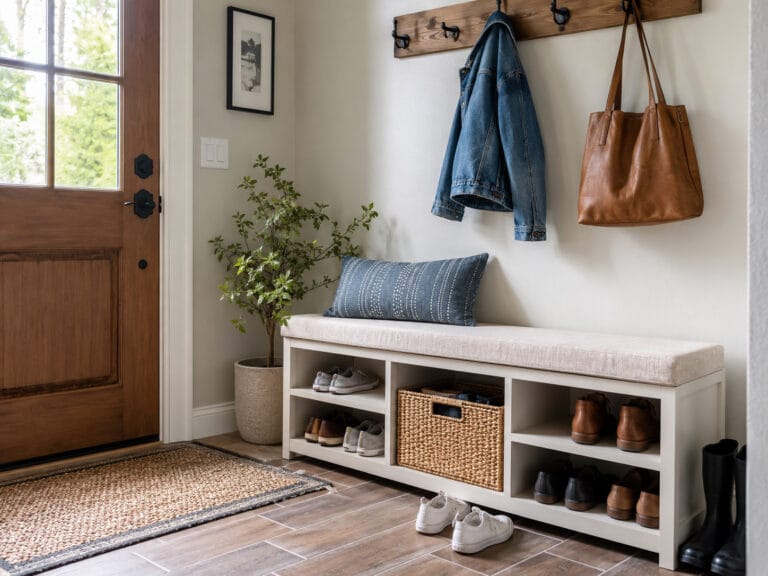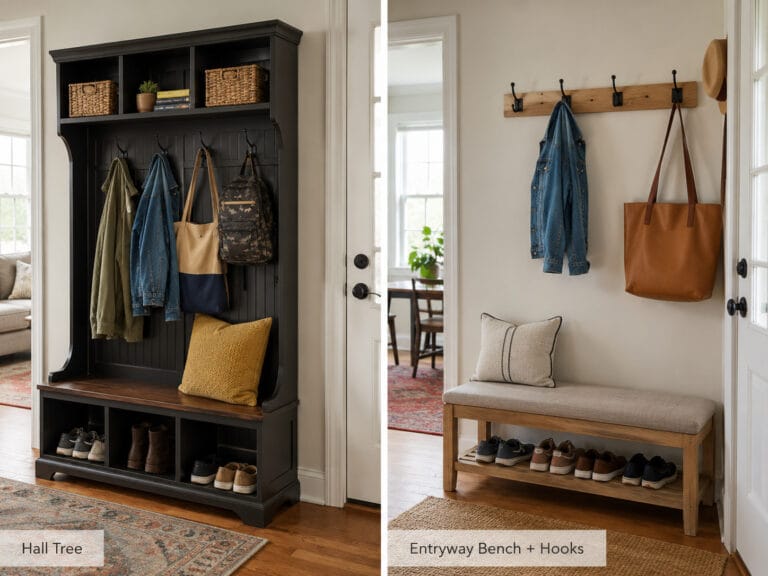
Buying entryway furniture should start with a tape measure, not a product page.
A bench, shoe cabinet, hall tree, or console table can look compact online and still make your entrance difficult to use once it arrives.
The reason is simple: the furniture dimensions are only part of the space you need to measure.
You also need to account for the usable wall, front-door swing, remaining walking path, storage openings, seating space, and any vertical obstacles above the furniture.
So the most useful question is not:
“Will this piece fit against the wall?”
It is:
“Will the entryway still work normally after this furniture is added?”
The HomyEntry approach is simple:
Measure the space → Test the fit → Choose the furniture.
Here is how to do it step by step.
Table of Contents
Quick Answer: What Should You Measure Before Buying Entryway Furniture?
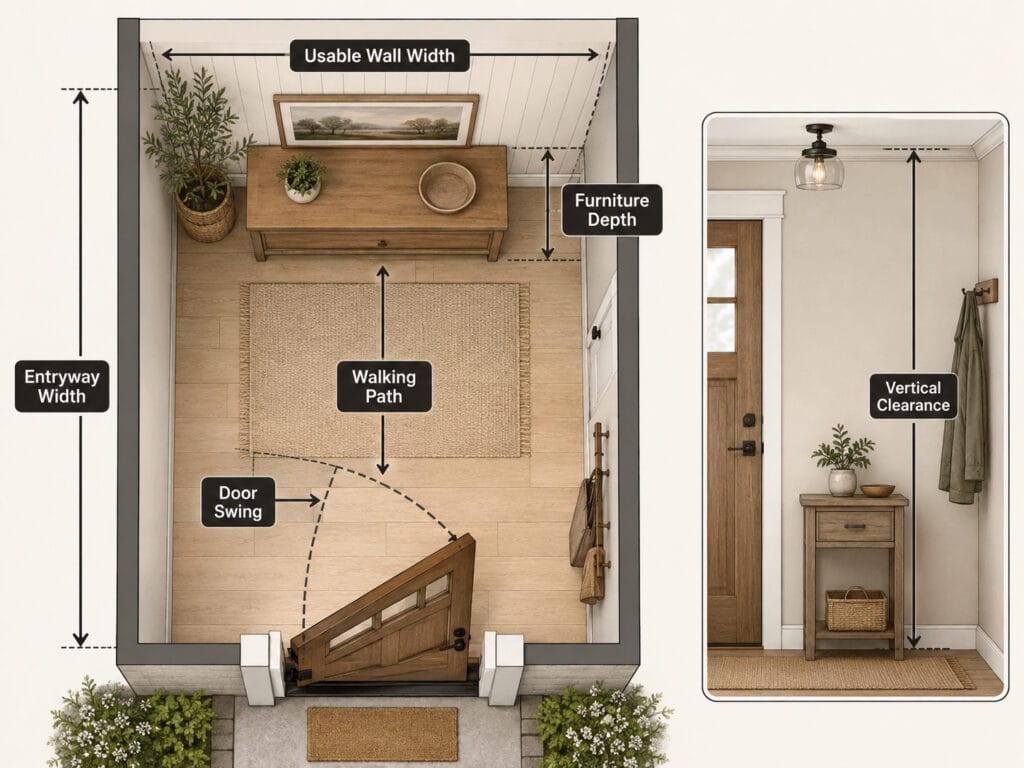
Before comparing furniture, record these six measurements:
| Measurement | Why It Matters |
|---|---|
| Usable wall width | Determines how wide the furniture can realistically be |
| Entryway width | Shows how much space exists across the entrance before furniture is added |
| Front-door swing | Identifies floor and wall areas that need to stay usable |
| Maximum useful furniture depth | Helps protect the walking path while keeping the furniture functional |
| Vertical clearance | Matters for hall trees, tall cabinets, mirrors, shelves, and hooks |
| Storage-opening space | Ensures drawers, doors, baskets, and lids can actually be used |
After measuring, use painter’s tape or cardboard to mark the proposed furniture footprint on the floor.
A piece that fits numerically can still feel too large once you start using the entrance.
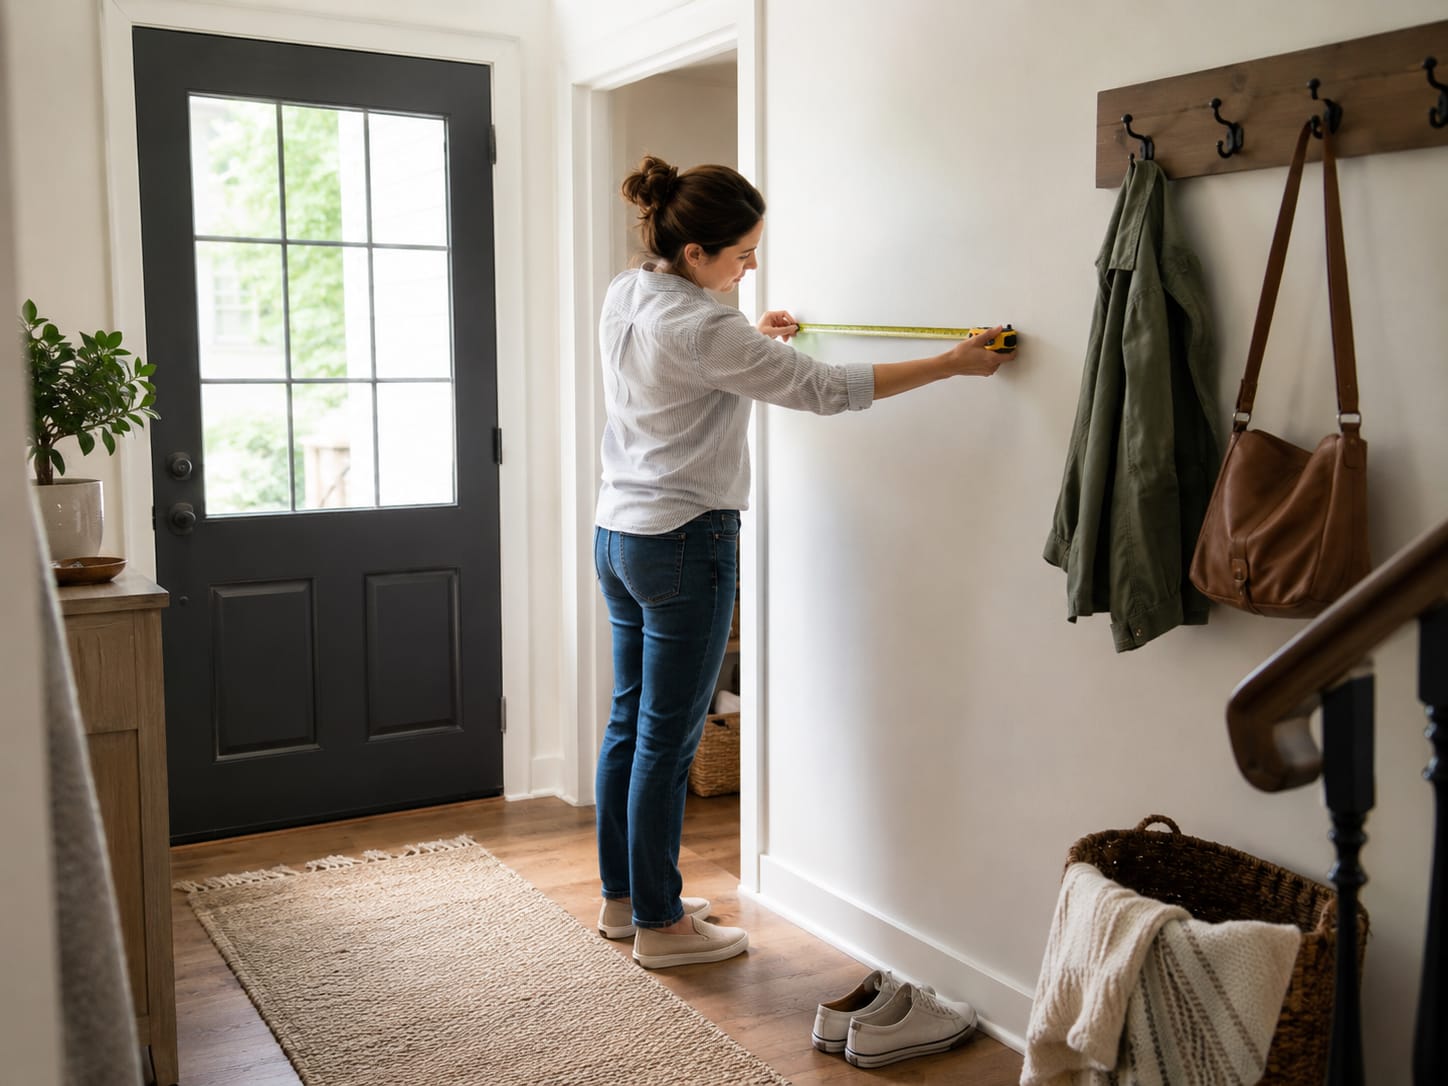
Step 1 — Measure the Usable Wall Width
Start with the wall where you plan to place the furniture.
Do not simply measure from one corner to the other and treat the entire wall as usable.
Look for anything that reduces the actual furniture zone:
- door trim;
- baseboards;
- outlets;
- light switches;
- HVAC vents or returns;
- floor registers;
- nearby closet doors;
- the front-door swing;
- other fixed furniture or architectural features.
Measure from one real obstruction to the next.
That distance is your usable wall width.
For example, a wall may measure 60 inches from corner to corner, but trim, a switch, and a nearby closet door could reduce the practical furniture zone to 46 inches.
When shopping, the 46-inch measurement matters more than the total wall length.
Don’t Forget the Baseboard
The listed depth on a product page does not always equal how far the furniture will project into the room after installation.
Some cabinets include a recessed back or baseboard cutout. Others have a flat rear panel and may sit slightly away from the wall.
Because baseboard dimensions vary from home to home, check the product’s rear profile or assembly drawing instead of assuming it will sit completely flush.
In a narrow entryway, even a small additional projection can matter.
Step 2 — Measure the Entryway Width
Next, measure from the wall where the furniture will sit to the opposite wall or nearest fixed obstruction.
This tells you how much open floor width the entrance has before furniture is added.
Then compare that measurement with the furniture depth.
A useful planning relationship is:
Entryway width − furniture depth = remaining open path
This is not a building-code formula. It is simply a quick way to visualize how much space the furniture will take from the passage.
Two benches, for example, might both be 36 inches wide but have very different depths.
They occupy the same amount of wall but can affect the walking path very differently.
For accessibility context, the ADA Standards generally specify a 36-inch minimum clear width for accessible walking surfaces, with limited reductions to 32 inches over short sections. Those standards apply to accessible routes and should not be treated as a universal furniture-clearance rule for every private residence.
The practical lesson is simpler:
A piece can fit the wall and still leave too little room for the way your household uses the entrance.
For more detail on bench dimensions themselves, see our entryway bench size guide.
Step 3 — Mark the Front-Door Swing
The front door should be tested before you decide where furniture can go.
This is especially important with an inward-swinging door.
Open it completely and observe:
- the path of the door slab;
- where the door stops;
- how far the handle projects;
- where you naturally stand while opening the door;
- how you turn after entering;
- where bags or packages move through the space.
A piece of furniture does not have to physically hit the door to cause a problem.
It may simply occupy the floor area you need while opening the door, stepping inside, turning, or carrying something through the entrance.
That leads to an important distinction:
Door-swing clearance and walking clearance are not the same thing.
A door may technically open all the way while the entrance still feels awkward to use.
Make the Door Swing Visible
Painter’s tape is helpful here.
You do not need to draw a mathematically perfect arc.
Mark the area where the door and handle come closest to the proposed furniture, then open and close the door several times.
Carry a grocery bag through the entrance.
Stand where you normally stand while locking or closing the door.
These simple movements often reveal conflicts that measurements alone do not show.
Step 4 — Determine the Maximum Useful Furniture Depth
Once you know the entryway width and door-swing area, decide how much furniture depth the entrance can actually support.
Depth is how far a piece projects from the wall into the room.
It matters especially for:
- entryway benches;
- shoe cabinets;
- hall trees;
- console tables;
- storage cabinets.
Do not begin by asking:
“What is the standard depth for this type of furniture?”
Ask:
“How much depth can this entryway give up while still working comfortably?”
Then compare that limit with the products you are considering.
A shallow piece usually preserves more walking space, but shallower is not automatically better.
Reducing depth can also reduce:
- seating comfort;
- usable shoe-storage depth;
- drawer capacity;
- enclosed storage space.
The goal is therefore not the smallest possible depth.
It is the maximum useful depth: enough furniture to perform the intended job without taking more circulation space than the entrance can comfortably give up.
Current IKEA U.S. hallway examples show how widely furniture projection can vary: the TRONES shoe/storage cabinet is about 7⅛ inches deep, while the HEMNES shoe-storage bench is about 12⅝ inches deep and the NIPÅSEN coat-rack-and-bench unit about 13¾ inches deep. These are retail examples, not standards, but they show why actual product depth matters more than labels such as “slim” or “compact.”
If you are planning around a bench specifically, see our entryway bench clearance guide.
Step 5 — Check Doors, Drawers and Storage Openings
Furniture does not always occupy the same amount of space when it is being used as when it is sitting closed.
This is one of the easiest things to miss when shopping online.
Think about the furniture in its working position.
| Storage Type | Extra Space to Check |
|---|---|
| Drawer | Full drawer extension in front |
| Cabinet door | Door-swing space in front or to the side |
| Tilt-out shoe compartment | Forward opening path |
| Pull-out basket | Space to fully remove the basket |
| Lift-top bench | Vertical space above the seat |
| Open cubby | Space to bend and reach inside |
A shoe cabinet may fit perfectly against a wall but become frustrating if opening it blocks the main passage.
Likewise, a lift-top bench can fit beneath wall hooks but become difficult to use if the lid hits them.
A useful rule is:
The closed footprint is not always the working footprint.
Measure the furniture as it will actually be used, not just as it appears when everything is shut.
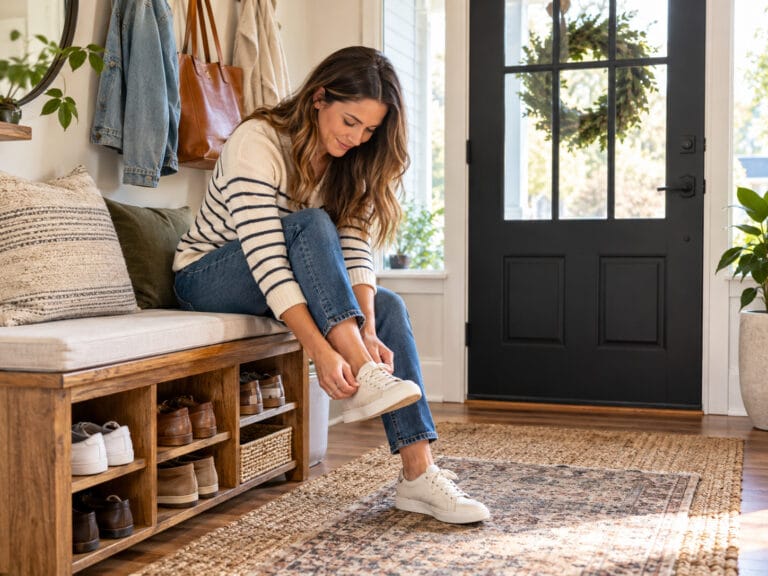
Step 6 — Check Seating Space
If you are considering an entryway bench, the furniture footprint is only one part of the space required.
Once someone sits down, knees, feet, and shoes extend into the area in front of the bench.
The effect becomes even greater when the person leans forward to put on or tie shoes.
You do not need a complicated calculation to test this.
Use a chair or stool.
Place it approximately where the future bench will sit, then go through the real movement:
- Sit down.
- Lean forward.
- Put on a shoe.
- Tie the laces.
- Stand up.
- Have another person walk through the entryway.
If that already feels awkward, the proposed furniture may be too deep or too close to the main path.
This section is about testing the space rather than defining one universal clearance number.
Step 7 — Measure Vertical Clearance
Entryway measuring is not only a floor-plan exercise.
Vertical space becomes especially important with:
- hall trees;
- tall shoe cabinets;
- wall-mounted storage;
- mirrors;
- shelves;
- coat hooks.
Measure upward from the floor and check for:
- wall sconces;
- thermostats;
- switches;
- existing shelves;
- decorative trim;
- artwork;
- sloped ceilings.
Also consider visual scale.
Tall furniture has a visual footprint, not just a measured height.
A tall storage unit may technically fit under the ceiling but still make a compact entrance feel much more enclosed than a low bench.
If you are choosing between those two approaches, see our hall tree vs. entryway bench comparison.
Step 8 — Mark the Full Furniture Footprint on the Floor
This is one of the most useful checks you can do before ordering furniture online.
Use painter’s tape to mark the exact width and depth of the piece on the floor.
For an even clearer test, cover the outlined area with cardboard.
Then stop looking at the measurements and use the entrance normally.
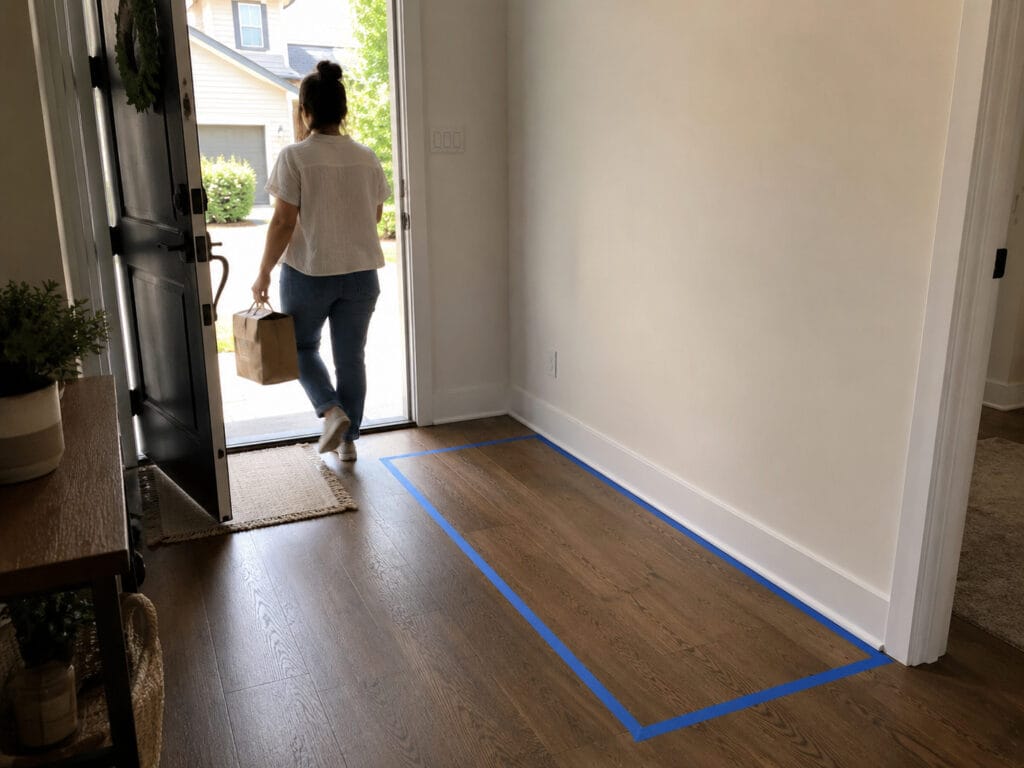
Try:
- fully opening the front door;
- carrying groceries inside;
- bringing in a package;
- sitting down to put on shoes;
- walking past another person;
- opening a nearby closet;
- moving a stroller or bulky bag through the entrance.
Painter’s tape only represents the flat floor footprint.
Real furniture adds:
- height;
- side panels;
- handles;
- cushions;
- baskets;
- shoes and other stored items.
If the flat outline already feels intrusive, the real furniture is unlikely to feel smaller.
HomyEntry Fit Check: Measure → Fit → Buy
The HomyEntry Fit Check turns the full process into one repeatable method you can use for almost any entryway furniture.
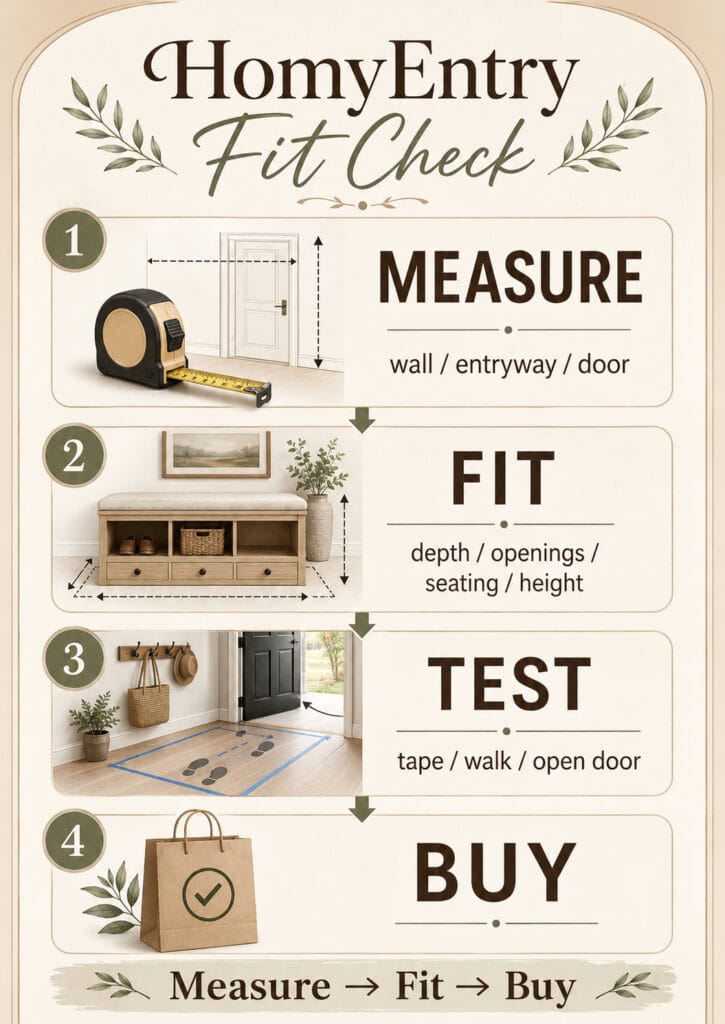
1. Measure the Usable Wall
Record the actual wall width after accounting for trim, doors, switches, vents, and other obstacles.
2. Measure the Entryway Width
Measure from the furniture wall to the opposite wall or nearest fixed obstruction.
3. Mark the Door Swing
Open the front door fully and identify both the door’s movement area and the space you need to operate it.
4. Set the Maximum Useful Furniture Depth
Choose the deepest piece the space can handle while keeping the entryway practical.
5. Check Active-Use Clearance
Account for drawers, cabinet doors, baskets, tilt-out compartments, and lift-top storage.
6. Check Seating Space When Needed
If the furniture includes a seat, simulate sitting, putting on shoes, and standing up.
7. Check Vertical Fit
Confirm that tall furniture will not conflict with lights, hooks, shelving, trim, or other wall features.
8. Tape the Footprint
Mark the actual furniture width and depth on the floor.
9. Test Real Life
Open the door, walk through, carry bags, sit down, and test the entrance during the way your household actually uses it.
Only after those checks should you compare final product dimensions.
That is the HomyEntry method:
Measure the space. Test the fit. Then choose the furniture.
Entryway Measurement Worksheet
You do not need a professional floor plan.
Record these measurements before you start comparing products:
| Measurement | Your Entryway |
|---|---|
| Usable wall width | ______ in |
| Entryway width | ______ in |
| Front-door swing checked | Yes / No |
| Maximum useful furniture depth | ______ in |
| Maximum furniture height | ______ in |
| Storage-opening space | ______ in |
| Seating space checked | Yes / No |
| Painter’s-tape test completed | Yes / No |
Keep the worksheet beside you while shopping.
It is much easier to eliminate furniture that is clearly too large before spending time comparing colors, materials, or storage features.
If space is especially tight, our small entryway ideas guide covers furniture, storage and layout options for compact entrances.
Common Entryway Measuring Mistakes
Measuring the Entire Wall Instead of the Usable Wall
Door trim, switches, vents, doors, and other fixed features may reduce the wall area available for furniture.
Checking Width but Ignoring Depth
A piece can fit perfectly along the wall and still project too far into the walking path.
Measuring Only With the Front Door Closed
The entrance needs to work while the door is opening and while someone is standing nearby.
Forgetting the Working Footprint
Drawers, doors, tilt-out compartments, baskets, and lift-top seats may require additional clearance.
Ignoring the Person Using the Furniture
A bench occupies more practical space when someone is sitting and putting on shoes than when it is empty.
Looking Only at Floor Dimensions
Tall furniture may conflict with lights, shelves, trim, or other wall elements and can also change how open the entrance feels.
Skipping the Tape Test
Furniture size is difficult to judge from a product photo alone. A full-scale floor outline makes the footprint much easier to understand.
Frequently Asked Questions
What measurements do I need before buying entryway furniture?
Measure the usable wall width, entryway width, door swing, maximum furniture depth, vertical clearance, and any space needed to open storage.
How do I know if entryway furniture is too deep?
Compare the furniture depth with the entryway width and test whether the remaining path still works comfortably for everyday use.
Should I measure my front door open or closed?
Measure and test the entryway with the front door fully open so you can account for the door swing and normal movement around it.
How can I test furniture size before buying it?
Use painter’s tape or cardboard to mark the full furniture footprint on the floor, then use the entrance the way you normally would.
Do I need to measure vertical space in an entryway?
Yes, especially for hall trees, tall cabinets, mirrors, shelves, hooks, and other furniture or storage that uses the wall above floor level.
Final Thoughts: Measure the Entryway Before You Shop
The best time to discover that a bench, hall tree, shoe cabinet, or console is too large is before you order it.
Start with the entrance itself.
Measure the usable wall.
Check the front-door swing.
Protect the walking path.
Allow for drawers, doors, storage openings, and seating.
Check the wall above the furniture.
Then mark the footprint and use the entrance normally.
Once you know what the space can comfortably handle, product dimensions become much easier to evaluate.
That is the foundation of the HomyEntry approach:
Measure → Fit → Buy.
When you’re ready to compare furniture for the space you’ve measured, Explore Entryway Solutions →